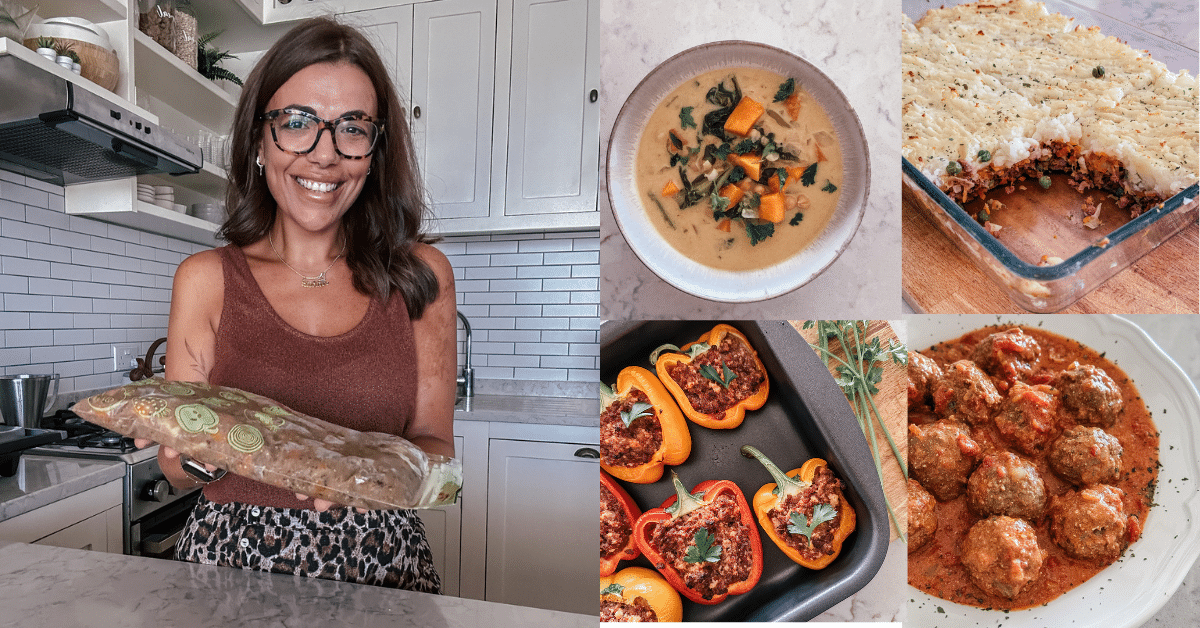
Knowing how to freeze meals properly can make busy weeknights so much easier. A home-cooked dinner waiting in the freezer means less last-minute stress, fewer expensive takeaway orders and a better chance of using the food you already have.
The good news? You don’t need a full day of batch cooking or a freezer packed with matching containers. You can start by doubling tonight’s dinner or freezing one or two extra portions whenever you cook. My students and members swear by this method, and it’s one I’ve been using for many years.
The quick answer: How do you freeze meals properly?
To freeze meals successfully, choose a freezer-friendly recipe, allow the cooked meal to cool for no more than one hour, then chill it in the fridge for one to three hours. Once properly chilled, divide it into useful portions, seal it in airtight packaging, label it clearly and freeze it. When you are ready to eat it, thaw the meal in the fridge or microwave and reheat it until piping hot all the way through.
Here is how to do it in four simple steps.
Step 1: Choose meals that freeze well
The first step in learning how to freeze meals is choosing the right recipes. Many family favourites freeze beautifully, particularly meals with plenty of sauce or moisture.
Good freezer meal options include:
- Soups and stews
- Curries and dhal
- Bolognese and other mince-based sauces
- Casseroles and slow-cooked meals
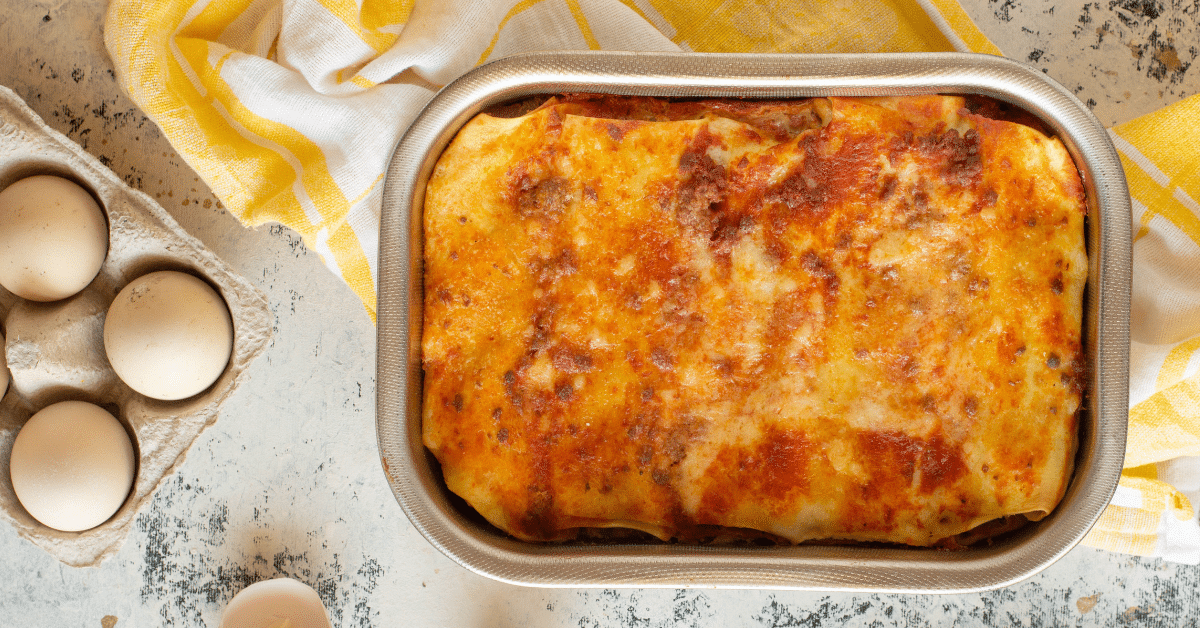
- Lasagne, enchiladas and pasta bakes
- Cottage pie and shepherd’s pie
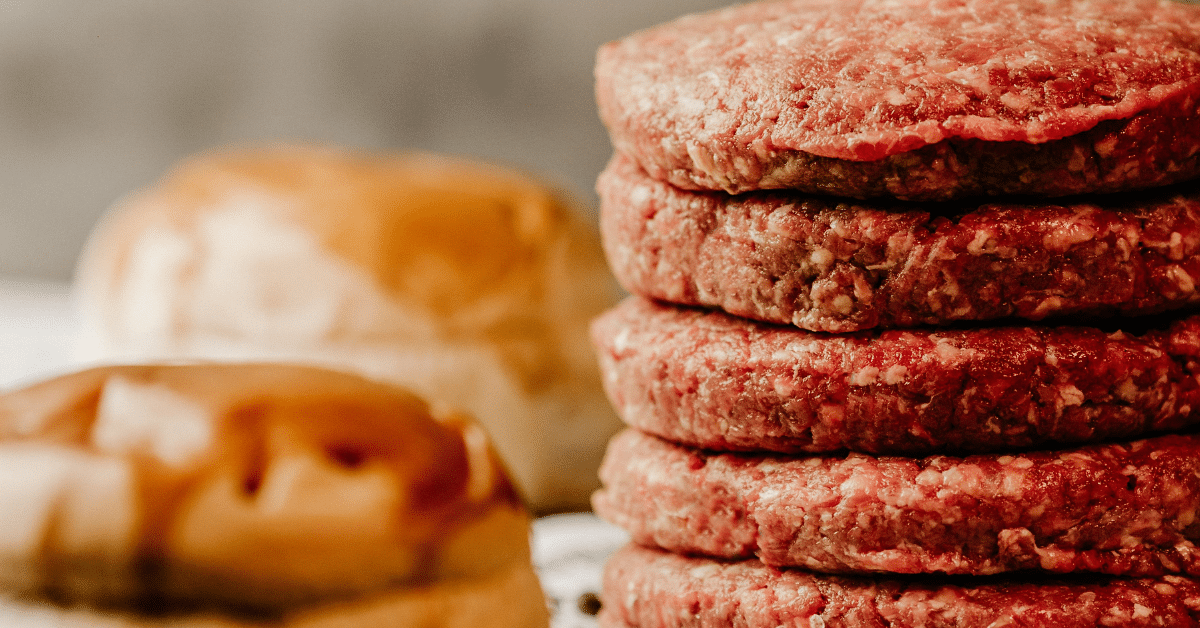
- Cooked meatballs, burger patties and shredded meats
- Savoury muffins, pancakes and baked snacks
My tip: If you are unsure whether a recipe will freeze well, test one portion first.
Step 2: Cool the meal before freezing
Once the meal is cooked, allow it to cool at room temperature for a maximum of one hour. Then transfer it to the fridge for one to three hours so it can chill properly before it goes into the freezer. If you have made a large batch, spreading it between one or two shallow dishes will help it cool more evenly.
Giving the meal time to chill helps reduce condensation and ice crystals inside the packaging, protecting its flavour and texture from freezer burn. Cold food is also firmer and much easier to portion.
Step 3: Portion, pack, seal and label it
Once the meal is properly chilled, divide it into the portions you are most likely to use. This makes it easy to defrost exactly what you need.
You might freeze:
- A full family-sized dinner
- Two-person portions for a quick meal
- Individual serves for lunches
- Small portions for babies or toddlers, where age-appropriate
Use clean, freezer-safe freezer bags or reusable silicone bags for best results. Freezer-safe containers are also an option, but the former are better to prevent freezer burn.
How to pack & freeze:
- Press out as much air as possible from freezer bags before sealing.
- Freeze flat so they can be stacked neatly once solid.
Label every meal before it goes into the freezer. Include:
- The name of the meal
- The date it was frozen
- The number of portions
- Any cooking or reheating instructions
- Any extras needed when serving, such as rice, pasta or fresh toppings
This tiny habit prevents the dreaded unidentified frozen block at the back of the freezer. It also makes it much easier for another family member to get dinner started.
My tip: Keep a marker and a roll of freezer labels in the same drawer as your containers. If labelling is easy, you are far more likely to do it.
Step 4: Thaw and reheat the right way
Most homemade meals are at their best when eaten within about two to three months. The exact time depends on the ingredients, packaging and freezer conditions. Food kept continuously frozen at −18°C can remain safe for longer, but its taste and texture will gradually decline, so always follow recipe-specific or manufacturer guidance where available.
When it is time to eat your meal, thaw it:
- Overnight in the fridge (use this for best results); or
- In the microwave using the defrost setting, if you will cook or reheat it straight away.
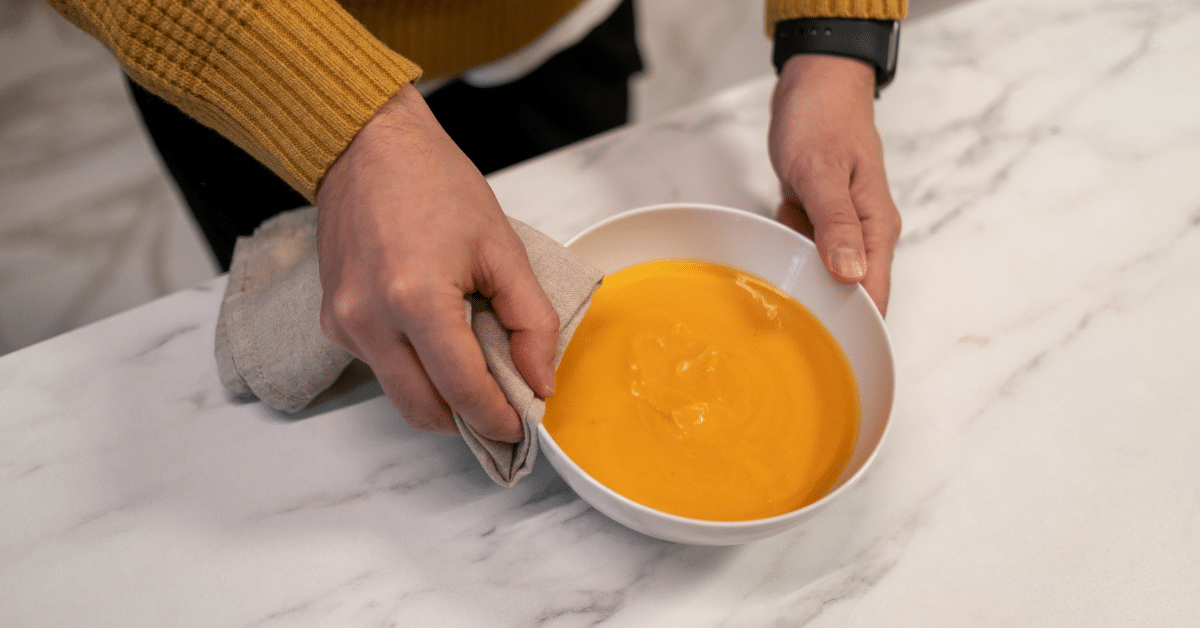
Reheat cooked meals quickly until they are piping hot or steaming all the way through. Stir soups, sauces and microwave meals partway through so there are no cold spots.
A simple freezer meal checklist
Check that you have:
- Chosen a meal that freezes well
- Cooled it for no more than one hour, then chilled it in the fridge
- Divided the chilled meal into useful portions
- Used a freezer-safe container or bag
- Removed as much air as possible
- Left expansion space for liquids
- Added the meal name, date and instructions
Frequently asked questions about how to freeze meals
Most homemade freezer meals taste best when used within two to three months. Different ingredients have different recommended storage times, so treat this as a practical quality guide and check any recipe-specific instructions. A clear date label makes it easy to see how long each meal has been frozen.
How long do homemade meals last in the freezer?
Most homemade freezer meals taste best when used within two to three months. Different ingredients have different recommended storage times, so treat this as a practical quality guide and check any recipe-specific instructions. A clear date label makes it easy to see how long each meal has been frozen.
Can I freeze a meal while it is still warm?
For the best results and for safety reasons,, let the meal cool for no more than one hour at room temperature, then refrigerate it for one to three hours before portioning and freezing. Chilling it properly helps reduce condensation and ice crystals, which can contribute to freezer burn.
Can I freeze meals in glass containers?
Yes, if the containers are specifically marked as freezer-safe. Leave room for liquids to expand, and avoid sudden temperature changes that could crack the glass. Let the container thaw safely before heating it.
Do freezer meals need to be thawed before reheating?
Not always. Some foods such as patties or meatballs can go straight from the freezer to the oven, microwave or saucepan, but this depends on the recipe. Follow the cooking instructions, allow additional time and check that the centre is thoroughly hot before serving.
How can I prevent freezer burn?
Cool foods properly, use airtight freezer-safe packaging, remove excess air, choose a container that closely fits the meal and keep the freezer at a steady temperature. Freezer burn affects quality rather than automatically making food unsafe, but badly dried-out food may not taste very good.
Make busy nights easier, one frozen meal at a time
Learning how to freeze meals is one of those small kitchen skills that pays off every week. Start with one extra batch of pasta sauce, curry or soup, portion it properly and label it before freezing. Before long, you will have a handy stash of homemade meals ready for the nights when cooking from scratch simply is not happening.
Your freezer does not need to be perfectly organised or packed with a month of dinners. Even one ready-to-heat meal can turn a hectic evening into a calmer one…and that is a win.
Want More Easy Meal Prep and Freezer Meal Ideas?
I share easy family recipes, practical meal prep tips and realistic ways to make feeding your family less stressful over on Instagram and Facebook. You can also find more make-ahead meal ideas, batch-cooking tips, freezer meal inspiration and free resources on my blog.
Instagram: https://www.instagram.com/the_mama_manual
Facebook: https://www.facebook.com/themamamanual
Blog: https://www.themamamanual.com/
Nakita is an author, recipe creator and busy mum who is passionate about helping families make dinner feel easier and less stressful. Through realistic meal prep ideas, freezer meal shortcuts, and practical cooking habits, she helps busy mums eat better so they can look good, feel good, and rely less on stressful last-minute dinners.
Through her blog, social media platforms, weekly newsletter, and online memberships, she shares practical ideas that help make family cooking feel more manageable during real life.